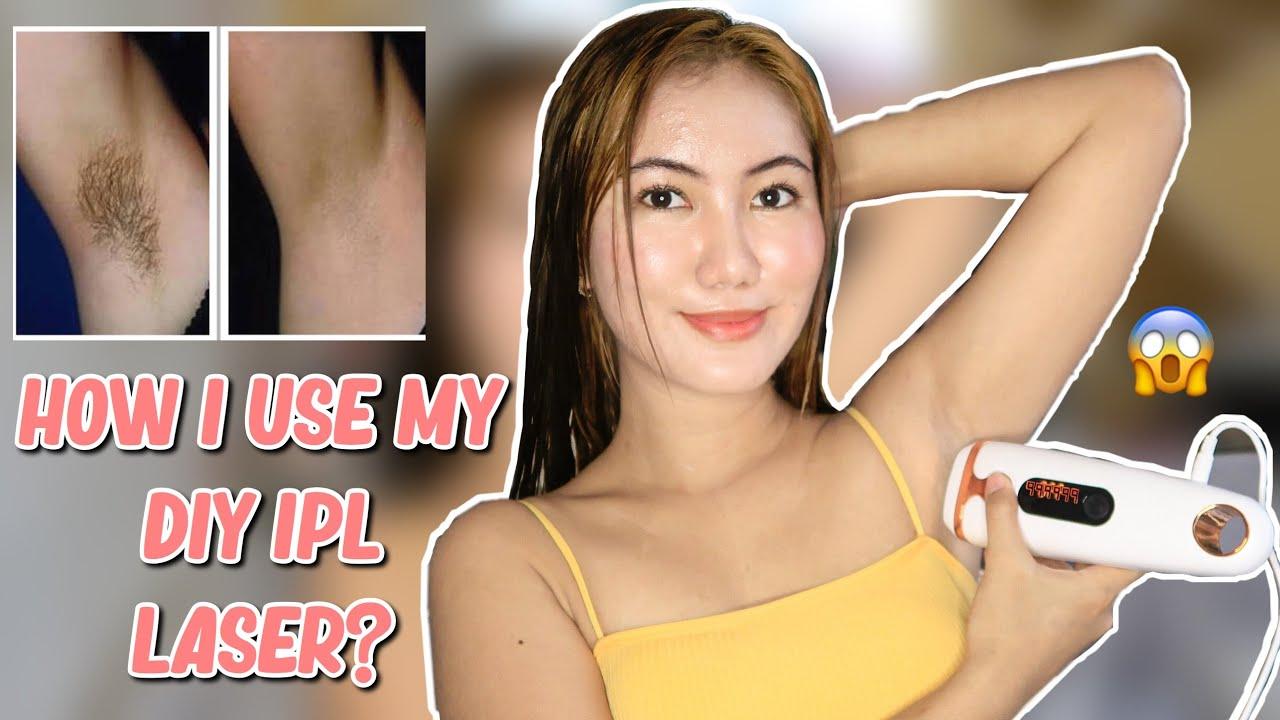
Imagine a world where silky smooth skin is just a click away—no more frantic last-minute shaves or painful, expensive salon appointments. Welcome to that very world, where the future of hair removal is sitting comfortably on your bathroom counter. “Smooth at Home: DIY IPL Laser Hair Removal Made Easy!” is your ultimate guide to mastering the art of at-home IPL (Intense Pulsed Light) treatments. Gone are the days of wrestling with razors or wincing at wax; it’s time to embrace a new era of convenience, comfort, and confidence. Ready to discover how you can achieve professional results from the comfort of your own home? Let’s dive in and illuminate the path to your smoothest self yet!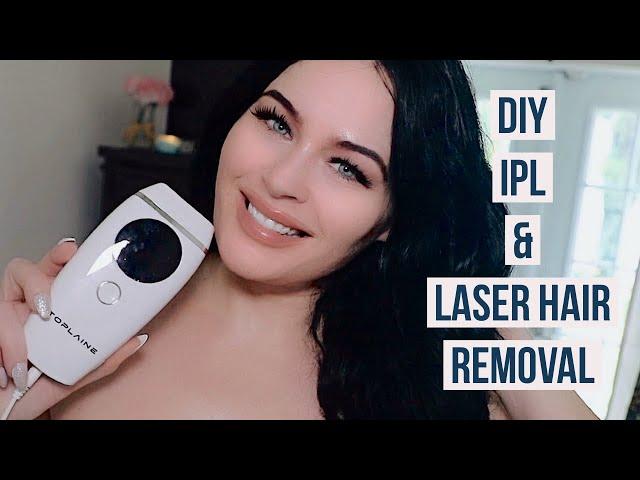
Mastering the Art of DIY IPL: Your First Steps to Smooth Skin
Getting started with DIY IPL (Intense Pulsed Light) at home can seem daunting, but with the right steps, you’ll be on your way to smooth, hair-free skin in no time. Choosing the right device is your first big decision. Look for one that suits your skin tone and hair color, as IPL works best on a contrast between the two. Many brands offer skin detection technology, ensuring you get the safest treatment possible. Brands like **Philips Lumea**, **Braun Silk-expert Pro**, and **Remington iLight** are good starting points with excellent reviews.
- Research the device suitable for your skin type.
- Consider the treatment window size for larger areas.
- Opt for a device with skin tone sensors.
Preparation is key to a successful IPL session. Shave the area you wish to treat 24 hours before your session—never wax or pluck, as IPL needs the hair follicle intact to be effective. Make sure your skin is clean and free of any lotions, creams, or deodorants. For the best results, exfoliate gently a day before to remove any dead skin cells that might obstruct the light pulses.
| Step | Action |
|---|---|
| 1. Shave | Trim the treatment area to allow effective light pulses. |
| 2. Cleanse | Ensure your skin is free from any lotions or oils. |
| 3. Exfoliate | Gently remove dead skin cells for optimum results. |
During the session, follow the instructions provided by your IPL device’s manual. Most devices require you to test a small patch of skin first to ensure no adverse reactions. Start with the lowest setting and gradually increase if appropriate for your skin type. Pull the skin taut and press the device firmly against it, ensuring full contact. Work methodically, moving the device in rows or columns to cover the entire area effectively.
After your session, hydrate your skin with a soothing, alcohol-free moisturizer. Avoid sun exposure and wear sunscreen if you need to go outside. Results aren’t immediate; it takes several sessions for full hair reduction, typically around 6–12 treatments. Consistency is crucial—stick to your treatment schedule, usually every 2-4 weeks, for lasting smoothness. Remember, DIY IPL is a gradual process, but with patience, you’ll achieve salon-quality results right at home.

Choosing the Right Device: A Comprehensive Guide
When embarking on your DIY IPL laser hair removal journey, selecting the right device is crucial. With an array of options available, aligning your choice with your skin tone, hair color, and personal preferences will elevate your experience. **Consider these important aspects**:
- Skin Tone and Hair Color Compatibility: Ensure the device you choose is suitable for your specific combination. Many advanced IPL devices come with a skin tone sensor to automatically adjust settings for optimal performance.
- Intensity Levels: Adjustable intensity settings allow you to customize treatments according to your comfort. Beginners may start with lower levels and gradually increase as they become accustomed to the sensation.
- Treatment Area Size: Some devices are designed with smaller treatment windows perfect for precise areas like the face, while others feature larger windows ideal for quickly covering larger body parts.
Another significant element is the **ease of use**. Opt for a model that offers a user-friendly design, such as ergonomic handles and intuitive controls. Cordless devices provide extra maneuverability, especially for those hard-to-reach spots. Look for features like a built-in cooling system to increase comfort during longer sessions, ensuring a painless and skin-friendly experience.
| Feature | Benefit |
|---|---|
| Skin Tone Sensor | Automatic adjustment for safer results |
| Cordless Design | Greater flexibility and ease of use |
| Multiple Intensity Levels | Customizable treatments for different areas |
A critical aspect often overlooked is **maintenance and lamp longevity**. Check if your device has a replaceable lamp cartridge or a high number of flashes to ensure it lasts through multiple treatments without needing replacements. Devices offering over 500,000 flashes generally provide long-lasting performance, translating into a cost-effective, one-time investment.
consider the **brand and warranty**. Reputable brands usually offer well-researched and clinically tested devices, ensuring safety and efficacy. A warranty can provide peace of mind, covering any potential issues or defects. Reading user reviews and ratings can give valuable insights into real-world performance and reliability, helping you make an informed decision.
Preparing Your Skin: Essential Pre-treatment Tips
To achieve the best results with your DIY IPL laser hair removal, it’s essential to prepare your skin properly. Start by thoroughly cleaning your skin to remove any makeup, lotion, or oil that may be present. This ensures the laser light is not impeded and can directly target the hair follicles. You can use a gentle, fragrance-free cleanser followed by lightly patting your skin dry with a clean towel.
Exfoliating your skin a day before the treatment is also crucial. This helps remove dead skin cells and provides a smoother surface for the IPL device, enhancing its effectiveness. Opt for a mild exfoliant, such as a sugar scrub or an exfoliating mitt, to avoid irritation. Here are some benefits of exfoliating:
- Improved device contact: Better exposure to hair follicles.
- Enhanced absorption: Skin products applied afterward penetrate more effectively.
- Reduced risk of ingrown hairs: Keeps hair follicles clear and promotes even hair removal.
Another critical step is to shave the area you intend to treat. Shaving ensures that the laser’s energy is focused on the hair follicles beneath the skin’s surface, rather than being absorbed by longer hair on the surface. However, avoid waxing or plucking, as these methods remove the hair from the follicle, which is necessary for the IPL treatment to work.
Before beginning your session, conduct a patch test on a small area of your skin. This will help you determine if you have any adverse reactions to the IPL treatment. Here’s a simple patch test guide:
| Step | Action |
|---|---|
| 1 | Choose a small, inconspicuous area. |
| 2 | Apply the IPL device as instructed. |
| 3 | Monitor the area for 24 hours for any adverse reactions. |
Following these pre-treatment tips will help ensure that your DIY IPL laser hair removal experience is safe and effective, leaving you with smoother, hair-free skin at the comfort of your home.
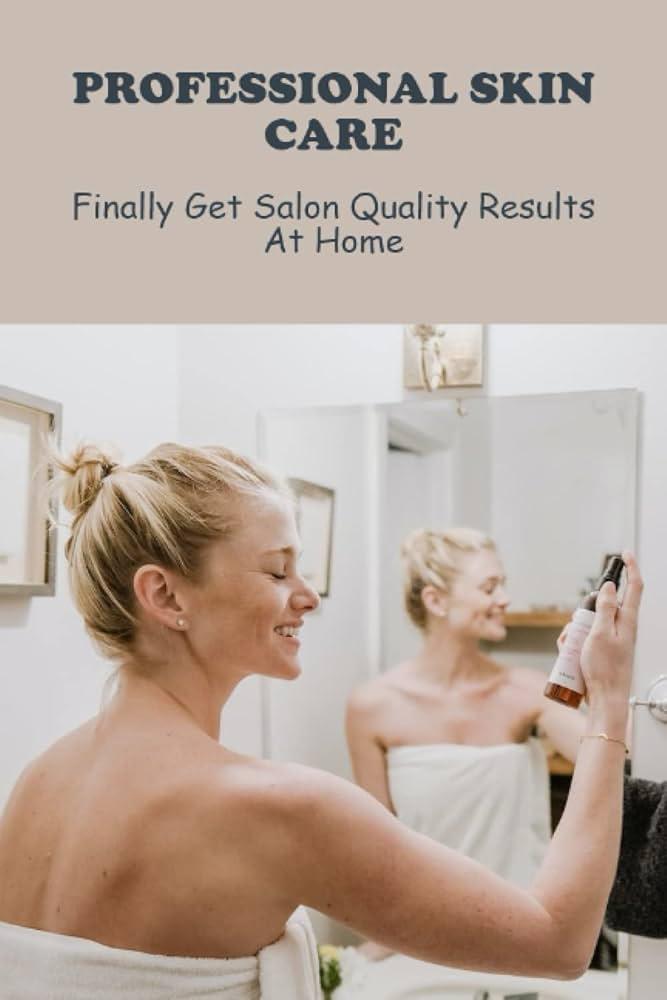
Step-by-Step Process: Achieving Salon-Quality Results at Home
Getting salon-quality results with DIY IPL laser hair removal at home requires some careful steps and a bit of patience. First off, thoroughly read the instruction manual of your IPL device. Understanding the ins and outs of the gadget will make all the difference in achieving the smooth, hair-free skin you’re longing for. Start with a **clean and dry surface**: wash, exfoliate, and thoroughly dry the area you plan to treat. This ensures maximum efficiency and less likelihood of skin irritation.
Creating an optimal routine is crucial. **Begin with a patch test** to check how your skin reacts to the IPL treatment. Follow these steps at least 24 hours before your full session. Adjust the device to the appropriate setting for your skin type and hair color, always starting at a lower intensity. If you’re unsure, your device’s manual usually includes a handy chart, but here’s a simplified reference:
| Skin Tone | Hair Color | Suggested Setting |
|---|---|---|
| Light | Blonde | Low to Medium |
| Medium | Brown | Medium |
| Dark | Black | Medium to High |
smooth out issues, you might be experiencing minor hiccups. Here are some tips to keep in mind: **Always wear protective goggles** supplied with your device, even if you think it’s unnecessary. Good lighting is key to correctly identifying the area for treatment and ensuring you don’t miss any spots. Use a white eyeliner pencil to outline areas with darker skin tones or tattoos to avoid these spots, as IPL devices should not be used on such areas.
Last but certainly not least, **post-treatment care** is non-negotiable. Apply a soothing aloe vera gel or a fragrance-free lotion to calm your skin. Avoid sun exposure, and if you must go outside, don’t forget to wear broad-spectrum SPF30 or higher sunscreen. Stick to your treatment schedule religiously, usually every two weeks for the first couple of months. You’ll start to notice hair reduction after a few sessions, leading to smoother, silkier skin!
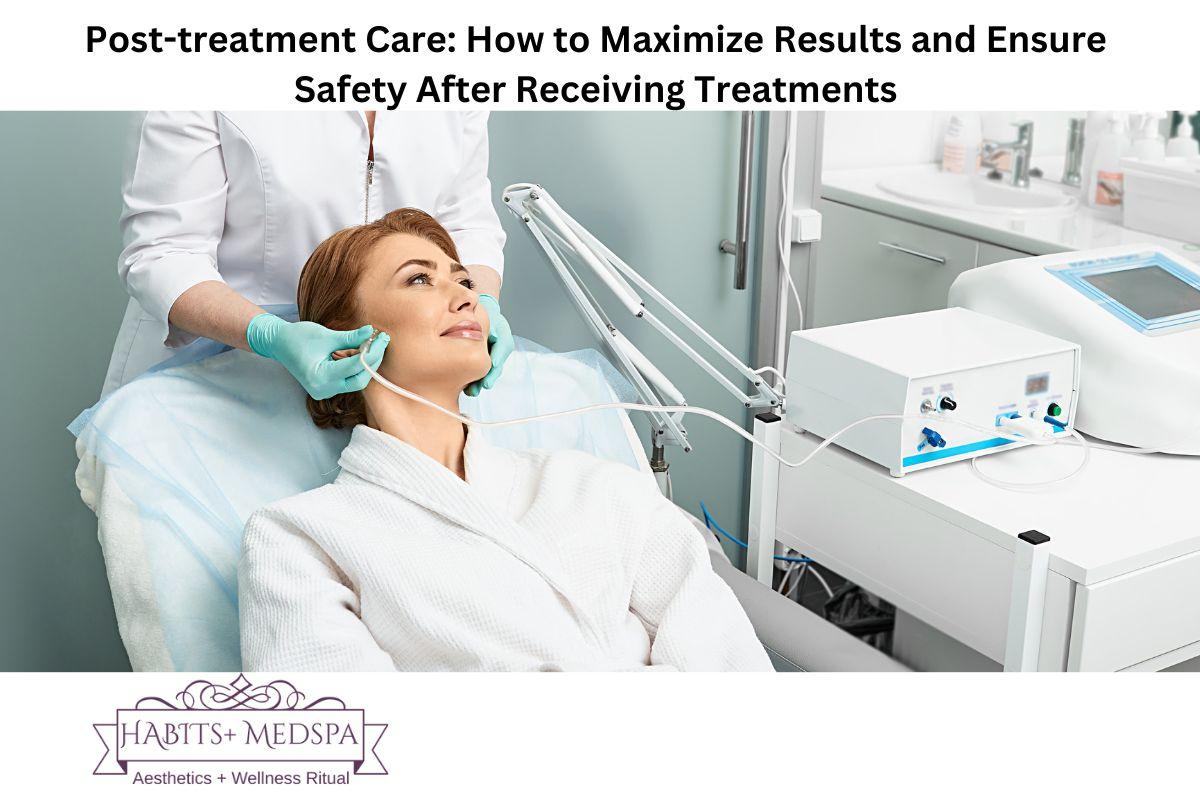
Maintaining Results: Post-treatment Care and Tips
After successfully treating yourself to smooth, hair-free skin using your DIY IPL laser, maintaining those fabulous results is key. It’s important to pamper your skin and follow some essential tips post-treatment to keep it looking and feeling its best.
**Post-treatment Care Tips:**
- **Moisturize Regularly:** Keep your skin hydrated by using a gentle moisturizer. Look for products with soothing ingredients like aloe vera and chamomile.
- **Avoid Sun Exposure:** Protect your skin from direct sunlight. Applying a high-SPF sunscreen is crucial to prevent any adverse reactions.
- **Stay Cool:** Refrain from hot showers, saunas, and intense workouts for at least 24 hours post-treatment to let your skin recover.
To extend the longevity of your smooth skin, consider these **maintenance tips**:
- **Exfoliate Gently:** Once your skin has had time to heal, exfoliate gently to prevent ingrown hairs and maintain a silky texture.
- **Schedule Touch-ups:** Depending on your hair growth cycle, you might need occasional touch-ups. Typically, this can be done every 4-6 weeks.
- **Hydrate from Within:** Drinking plenty of water is essential for healthy skin. Aim for at least eight glasses a day.
If you experience any redness or irritation, a few simple remedies can soothe your skin. Use a cool compress to reduce redness or take an anti-inflammatory over-the-counter medication if needed. Here’s a handy table of quick remedies for common post-treatment concerns:
| Concern | Remedy |
|---|---|
| Redness | Cool compress, aloe vera gel |
| Irritation | Oatmeal-based lotion, hydrocortisone cream |
| Dryness | Heavy-duty moisturizer, coconut oil |
Remember, consistency and care are your allies in maintaining those silky-smooth results at home. Regular attention to your skin’s needs ensures it stays healthy and beautiful post-IPL treatment. Happy glowing!
Q&A
Q&A: Smooth at Home: DIY IPL Laser Hair Removal Made Easy!
Q1: What is IPL laser hair removal, and how does it work?
A1: Great question! IPL stands for Intense Pulsed Light. This technology uses broad-spectrum light to target the pigment in your hair follicles. The light heats up and essentially zaps the follicle, putting it into a resting phase and ultimately reducing hair growth over time. Think of it as giving your unwanted hair a timeout!
Q2: Why should I consider IPL hair removal at home? Isn’t it better to go to a professional?
A2: While professional treatments are fantastic, doing IPL at home can save you loads of time and money. Imagine no more booking appointments, no commute, and the luxury of zapping away in your pajamas! Plus, modern home IPL devices are designed to be user-friendly and safe, perfect for that cozy, convenient hair-free glow.
Q3: Is it safe to use IPL devices at home?
A3: Absolutely! As long as you follow the manufacturer’s instructions, home IPL devices are very safe. They’re equipped with various safety features like skin sensors and adjustable settings to protect your skin. Remember, the key is to start on a lower setting and gradually increase as needed, giving your skin time to adjust.
Q4: How long do results from at-home IPL treatments take to show?
A4: Patience, my friend, is a virtue here. You’ll typically start noticing some reduction in hair growth after about 3-4 sessions, which might be spaced a few weeks apart. For the best results, consistency is key. Some people see significant results after 8-12 sessions, getting you closer to that silky smooth skin dream!
Q5: Does IPL hair removal hurt?
A5: The sensation can vary from person to person. Most people describe it as a quick snap or a warm tingling—nothing too unbearable. Luckily, many modern devices come with a cooling feature to minimize discomfort, sort of like having a tiny, handheld spa treatment!
Q6: Can anyone use IPL devices?
A6: Not everyone. IPL works best on individuals with fair to medium skin tones and dark hair since the light targets pigment. It’s less effective on very light blonde, red, or gray hair and not recommended for very dark skin tones. Always check the specific guidelines of your chosen device to ensure it’s right for you.
Q7: Any pre-treatment tips I should know?
A7: Of course! Shave the area you’re treating 24 hours before to ensure the light targets the follicle and not the surface hair. Avoid tanning and waxing for a few weeks before and after treatments to avoid skin irritation. And remember to steer clear of strong skincare products like retinoids on the treatment days.
Q8: Post-treatment care suggestions?
A8: Definitely! Immediately after treating, your skin will be more sensitive. Apply a soothing gel, like aloe vera, and steer clear of hot baths, saunas, or intense workouts for a day. Also, always use sunscreen if you’re heading out, as your skin might be more photosensitive. Treat it kindly, and it’ll love you back!
Q9: How do I choose the right device for me?
A9: Research, research, research! Look for reputable brands with good reviews, consider your budget, and think about the areas you want to treat. Some devices are better for large areas like legs, while others are designed for precision work on smaller spots like your face or bikini line. Always check for FDA approval for an added layer of safety reassurance.
Q10: Any final words of advice?
A10: Enjoy the journey to smoothness and be patient with yourself. It’s all about finding what works best for your skin and hair type. Get ready to say goodbye to razors and waxing appointments, and embrace a more carefree, hair-free you!
Stay smooth, stay awesome, and happy zapping! 🌟
To Conclude
And there you have it, folks—a smooth journey to serenity right in the comfort of your home! With DIY IPL laser hair removal, silky, hassle-free skin is no longer a distant dream but an achievable reality. Gone are the long hours and high expenses of salon visits. Instead, welcome convenience, affordability, and the joy of mastering a tool that puts the power of professional-grade hair removal in your hands.
So, whether you’re perfecting your beach-ready look or simply enjoying the feeling of soft, smooth skin, remember: your path to effortless elegance is now easier than ever. Be brave, be bold, and most importantly, be your beautifully smooth self. Now, go on and shine with confidence, because with IPL, every day can be a smooth day!
Smooth sailing and happy zapping! 🌟✨


